Direct benefits realized through these measurements include documented compliance with ISO9002, QS9000, and other quality specifications, improved process control, increased productivity, and scrap reduction. The standard system also provides disk and/or network data storage and easy recall of all S.P.C. information. This feature eliminates the need to maintain large files of printer paper for long-term record-keeping purposes.
Principle of Operation
The AGT800 Laser Pipe & Pole Measuring System presents a graphic representation of wall thickness over the length in chart fashion, and indicates location of out of tolerance material. In addition, this report presents a histogram of thickness distribution, footage, weight, average thickness, UCL, LCL, UTL, LTL, X Double Bar, R Bar, Cp, Cpk, and CR. This entire report is automatically scaled to fit on a single page, allowing for much neater record-keeping.
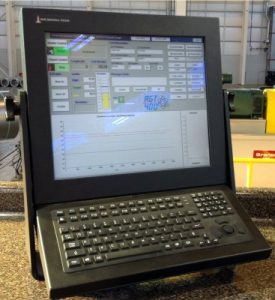
During normal operation, an interactive display shows real-time graphical representations of measured wall thickness, deviation, and a histogram of thickness values for the current pipe or pole being measured. Also displayed are thickness, target, upper and lower tolerance limits, job number, coil number, shutter status, coil footage, coil width, defects if selected, product, and much more. Additional display screens are provided for next pipe/pole data, profile (thickness versus width), product setup, defect setup, report setup, calibration, diagnostics, message review, and data recall.
Features
There are no licensing or leak test requirements, no risk of terrorism, and no shipping or radioactive source disposal fee issues.
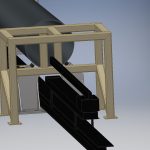
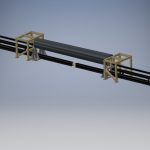
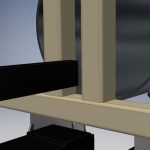
C-frames typically mount on two pedestals, and there is no requirement for water.
Our development engineers tested more than a dozen laser sensor models from five different countries and made the decision to manufacture all A.G.T. laser thickness gauges with high-end Keyence sensors. These are the fastest sensors in the world, and they produce the highest possible accuracy and repeat ability. This translates to the most consistent and stable thickness measurements possible.
Simplified hardware configuration increases the reliability of this gauge. The measurement system utilizes the latest in technology, reducing the requirement for peripheral hardware. The system configuration provides a very reliable platform for thickness measurement and S.P.C. reporting.
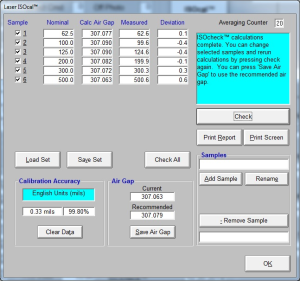
Our system features a fast and accurate calibration cycle, called ISOcal™.
The system automatically generates several reports, providing all the information you need in user friendly formats.
The system is fully capable of network data storage, remote printing and control. Auto Data Gathering can be used to automatically position the C-frame, start the measurement and reporting function. Auto Data Entry can be used to automatically enter coil data. Using both functions simultaneously, the AGT800 can run itself with no operator intervention.
All coil data is automatically stored to disk. Any desired information can be easily and conveniently accessed at any point in the future, and the respective reports reprinted with relative ease.
All digital inputs and outputs, analog inputs, and power supplies can be monitored simultaneously in real-time on a single screen. This feature provides for a means of greatly simplified troubleshooting.
Our unique system design enables future upgrades to be performed in the field, in a matter of minutes.
Diagnostic
Calibration
Options
Includes an additional remote monitor, keyboard, and touchpad mouse.
Standard system includes a 17″ LCD flat screen. Optional monitors include a 17″ remote flat screen unit, and a touchscreen.
To replace the standard system local printer.
